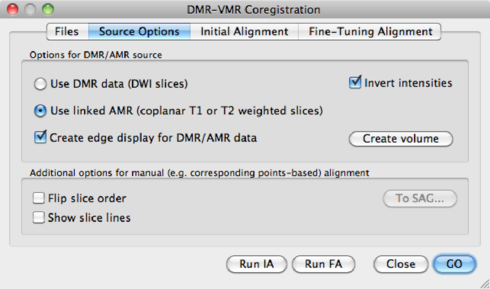
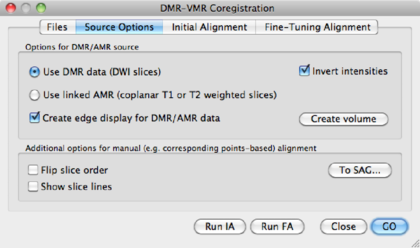
By default, Fine-Tuning alignment uses the first volume in the data set. It might be, that this is a diffusion weigthed image instead of a b0. The fine alignment fails at this point. The solution is to set the display volume to a b0 volume (see DMR Properties > DWI Data > Volume (b0) for display), and save the DMR. Then, in the alignment procedure, use the AMR as input.
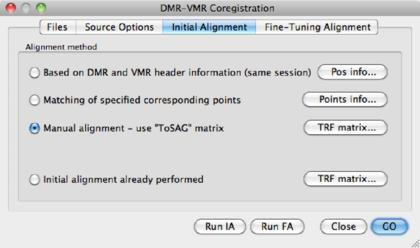
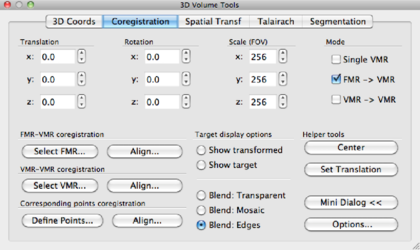
In some cases the position information may be lost or incorrectly read by BrainVoyager. The automatic co-registration will not work, and you are forced to use manual co-registration. In this section, the procedure is discussed step-by-step.
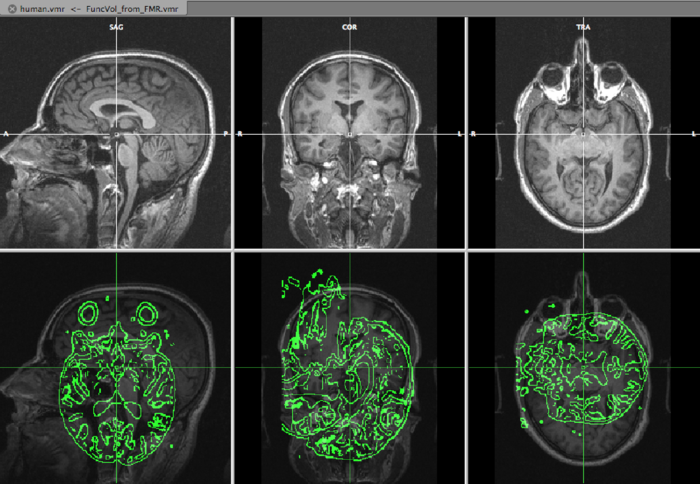
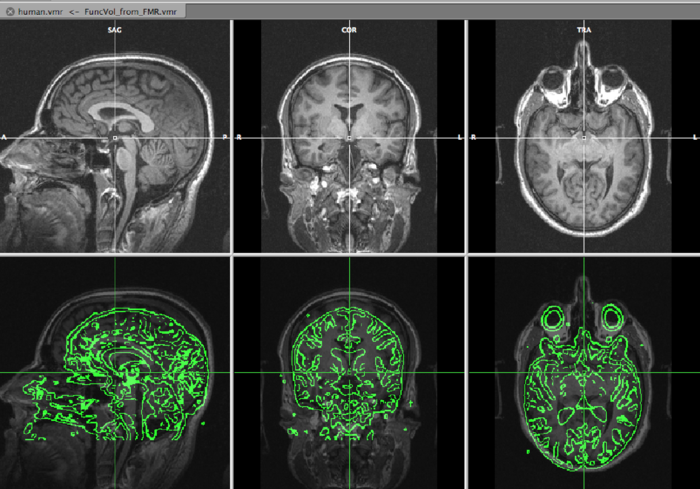
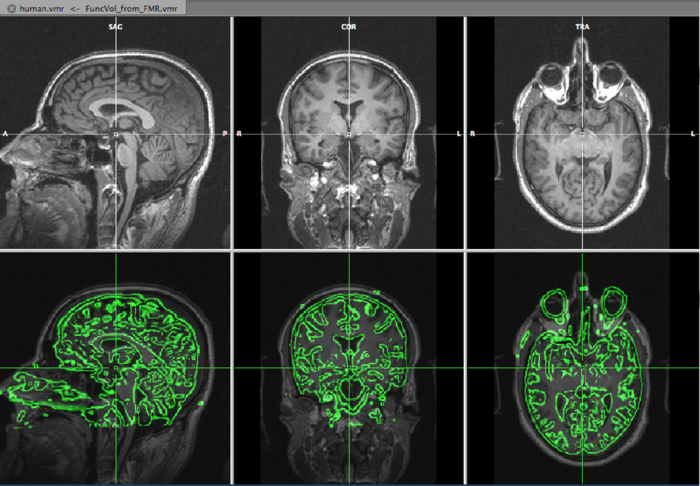
On the top row, we see the VMR, overlayed with the slice orientation of the DMR data set (light yellow lines) The bottom rows shows the VMR overlayed with the DMR data. The green lines represent the edges of the DMR data. As is immediately clear, the DMR is scanned in a transversal way, while the VMR is sagittally oriented. We will solve it in the next step, by converting the DMR to sagittal orientation.
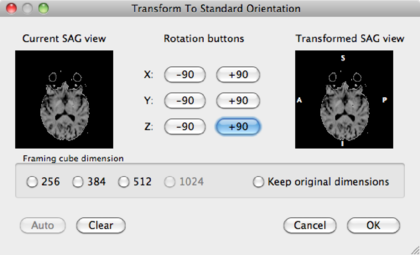
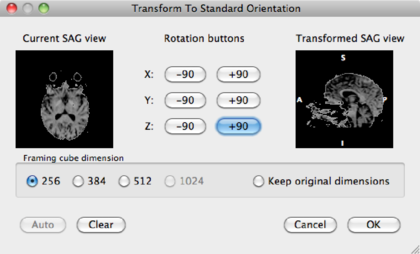
By manipulating the data via the middle buttons, change the right view to a sagittal view. In this case, it means hitting the X: +90 button once, and Y: -90 button one, but in your data it may be different. Check the Framing cube dimension: 256 radio button, and click OK.
The result is the DMR in sagittal orientation overlayed on the VMR:
Using x, y, z translations and x, y, z rotations, try to align the DMR as good as possible to the VMR data set. In the bottom row of the data display, you can freely browse the data, and this is of course highly recommended. When aligning, concentrate on aligning gyri and sulci rather than the ventricles, since the tissue around ventricles suffers from (large) distortions in EPI data such as DMR. Try to be as precise as possible! For the current data set, the following parameters were found:
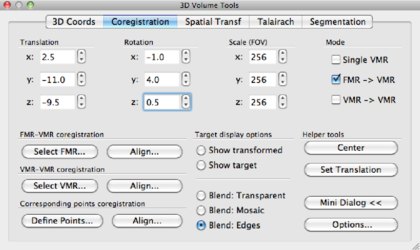
and the window looks like this:

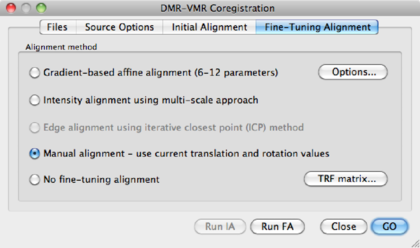
Hit the Run FA button.
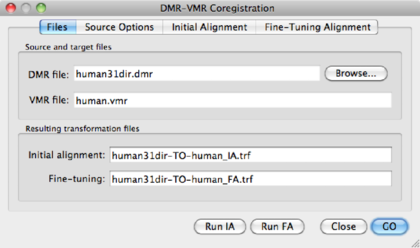
BrainVoyager has saved the transformation values in the files human31dir-TO-human_IA.trf and human31dir-TO-human_FA.trf