Evaluation of CBA - Part II: Performing the cortex based alignment
- Details
- Category: Cortex Based Alignment
- Last Updated: 13 April 2018
- Published: 13 April 2018
- Hits: 3228
Creating the alignment list
In the second part of the evaluation, we would like to check the improvement introduced by the Cortex-based alignment procedure. To do so, we first re-open the Cortex-based alignment dialog.
In the Options tab, we add all the different SMPs (as before in the Surface Maps dialog). Below the list, the Curvature radio button should be selected.
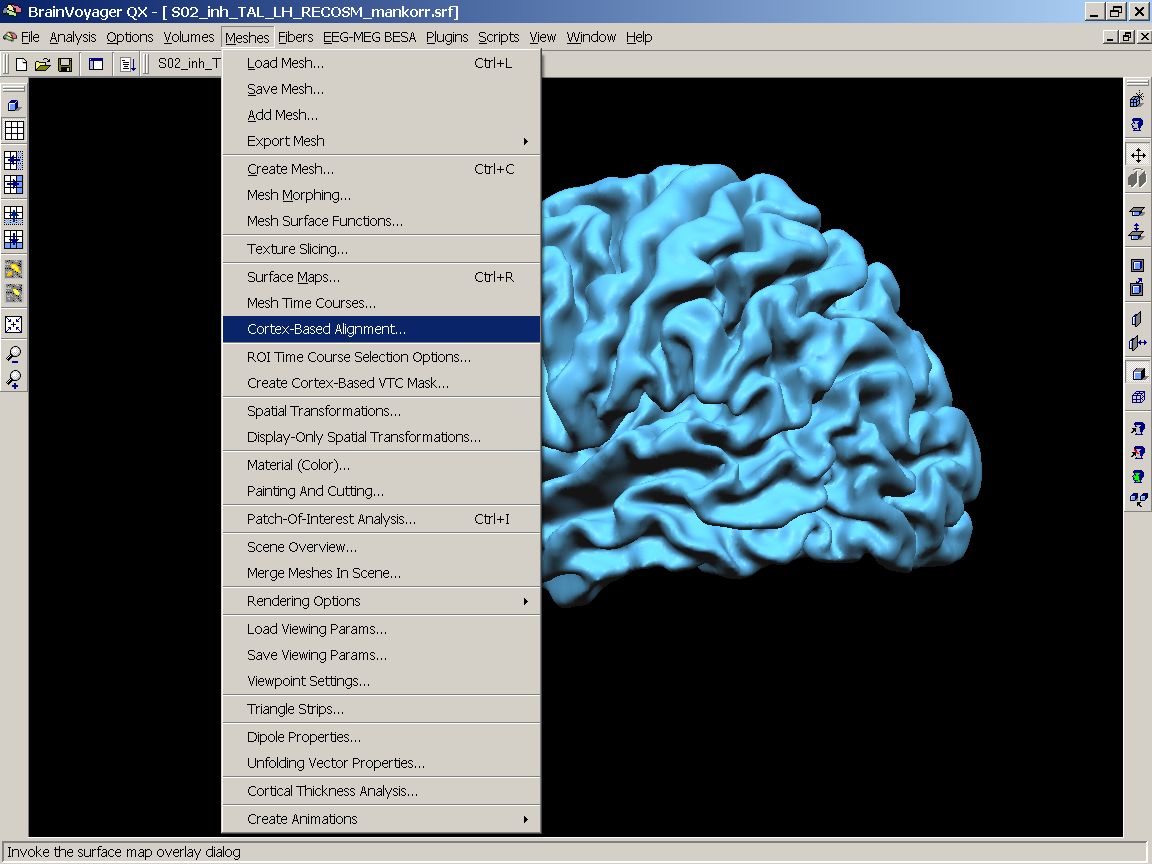
Figure 20: Cortex-Based Alignment menu entry
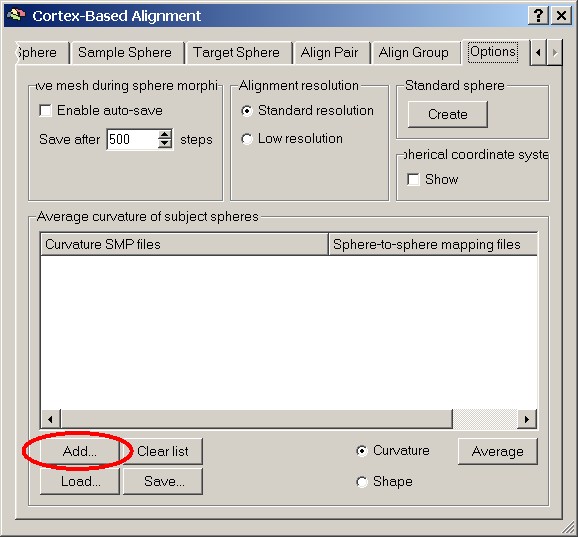
Figure 21: Add... SMP button in CBA options
After locating the SMP file, BrainVoyager will automatically ask for the corresponding SSM (sphere-to-sphere mapping) file, which results from the Cortex-based alignment procedure. In this case, we select the file <SUBJECT-NAME>_SPH_GROUPALIGNED.ssm. Then we redo these steps for all (i.e. in total 12) subjects.
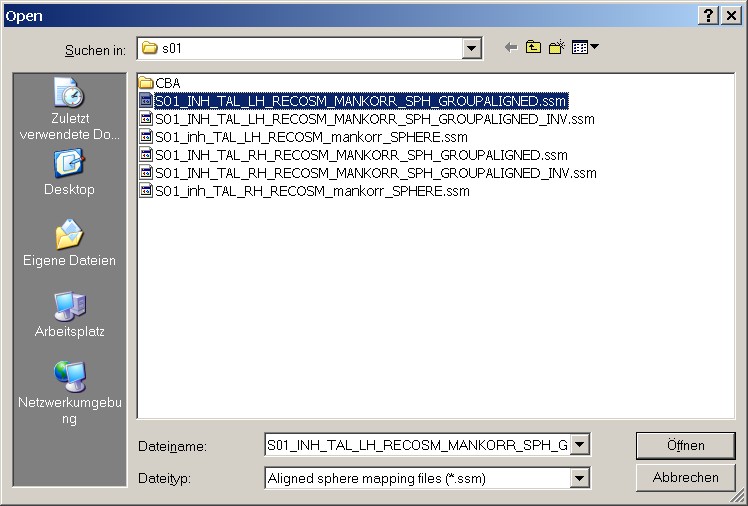
Figure 22: File Selector for corresponding SSM file
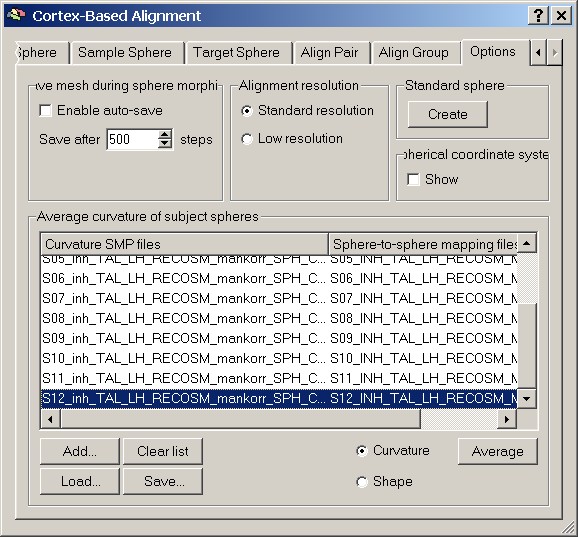
Figure 23: Completed list of curvature SMPs
It is advised to save this list as a CAL (curvature averaging list) file:
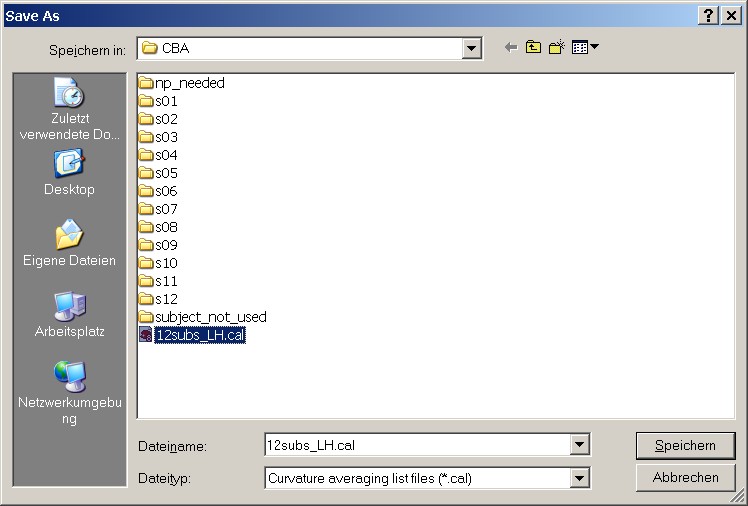
Figure 24: Save As dialog for CAL file
Averaging and Results
To start the overlay of the maps, please click the Average button.
The result then clearly shows the improvement obtained by the Cortex-based alignment procedure. In the following two screenshots, the left hemisphere folding patterns are shown (from the same perspective) after and before the CBA. Of course there is still some variation, due to the idiosyncratic differences between the subjects.
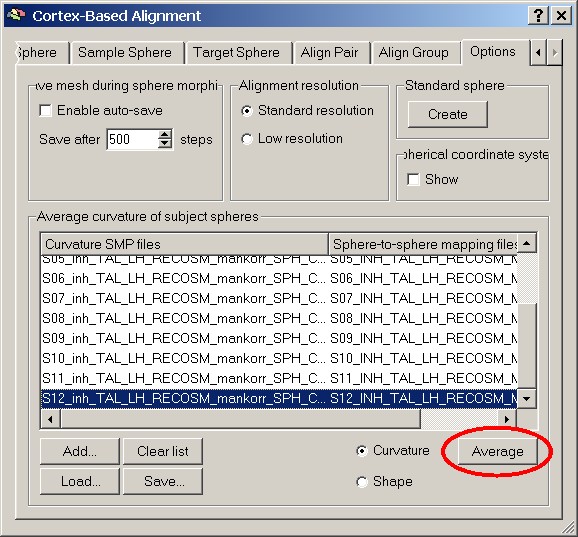
Figure 25: Average button in CBA options
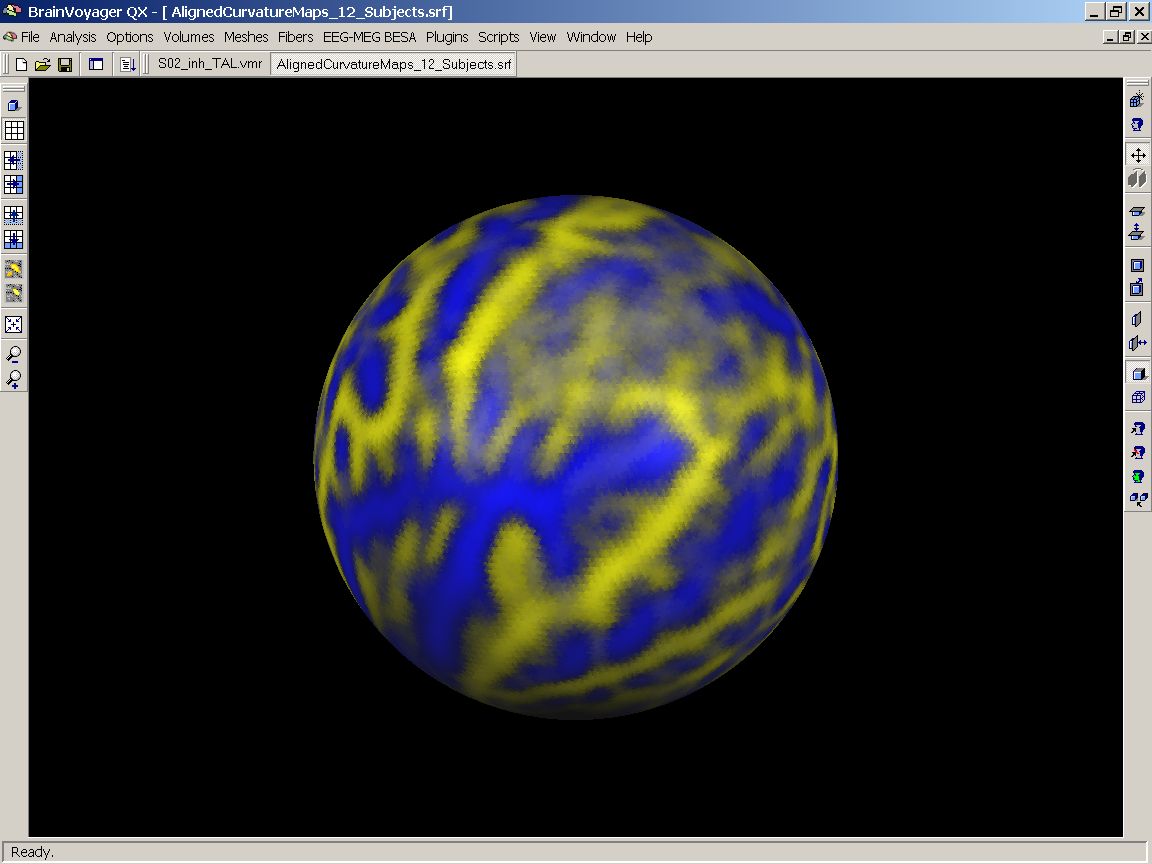
Figure 26: The 12 aligned maps (after CBA)
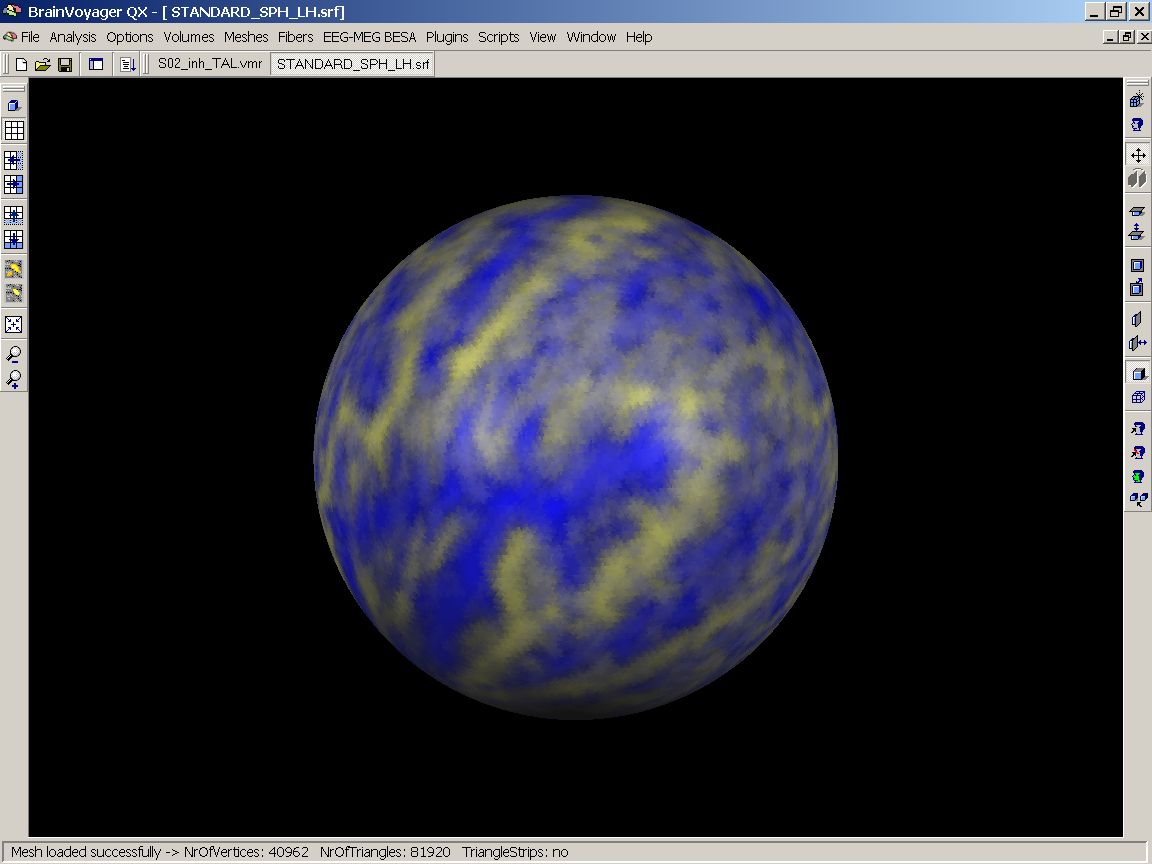
Figure 27: The 12 unaligned maps (before CBA)
