Automatic Segmentation
- Details
- Category: Segmentation: Automatic, Cortex
- Last Updated: 11 April 2018
- Published: 11 April 2018
- Hits: 2847
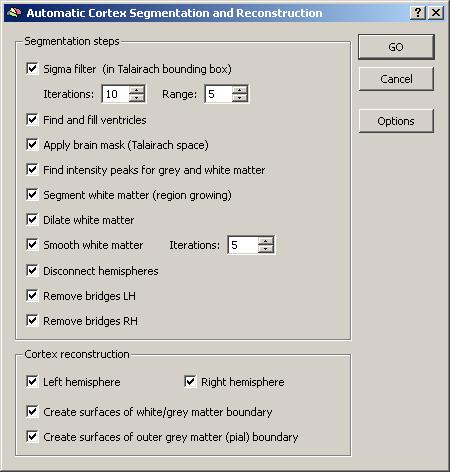
We start the procedure from the corresponding button on the “Segmentation” tab of the “3D volume tools”. More details regarding the automatic segmentation can be found in the Getting Started Guide (step 19) as well as the BrainVoyager User's Guide.
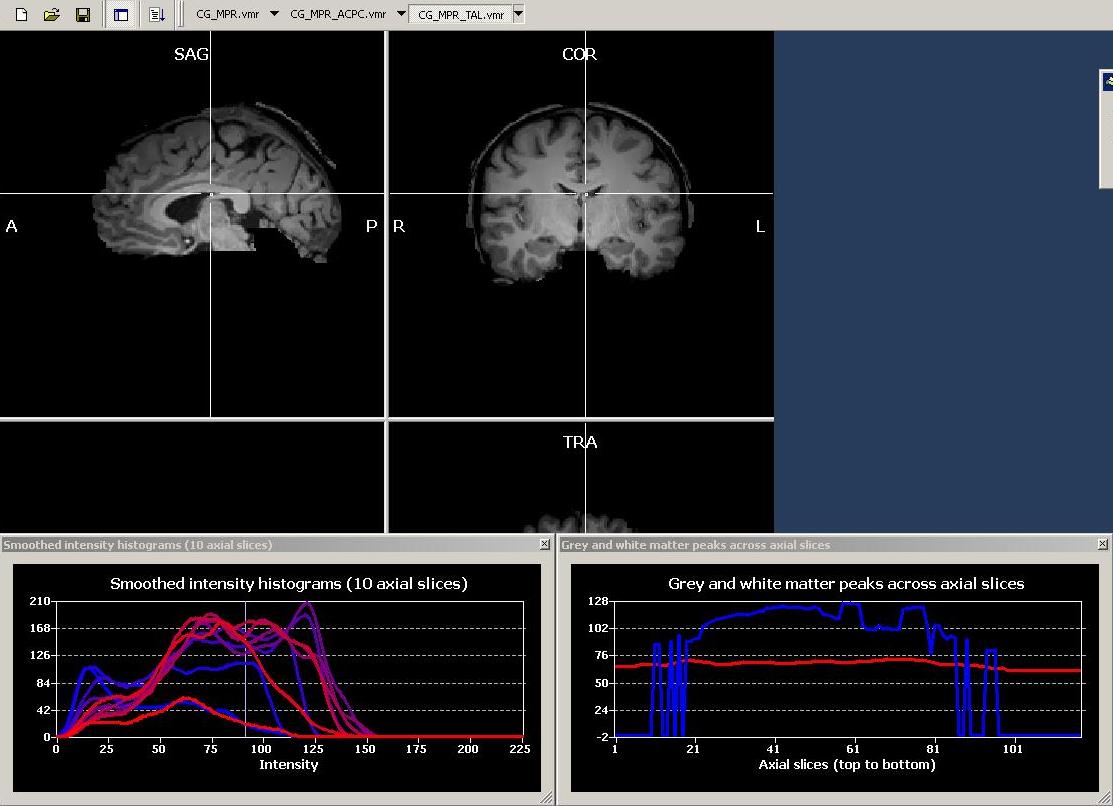
Automatic segmentation result before inhomogeneity correction:
Automatic segmentation result after inhomogeneity correction:
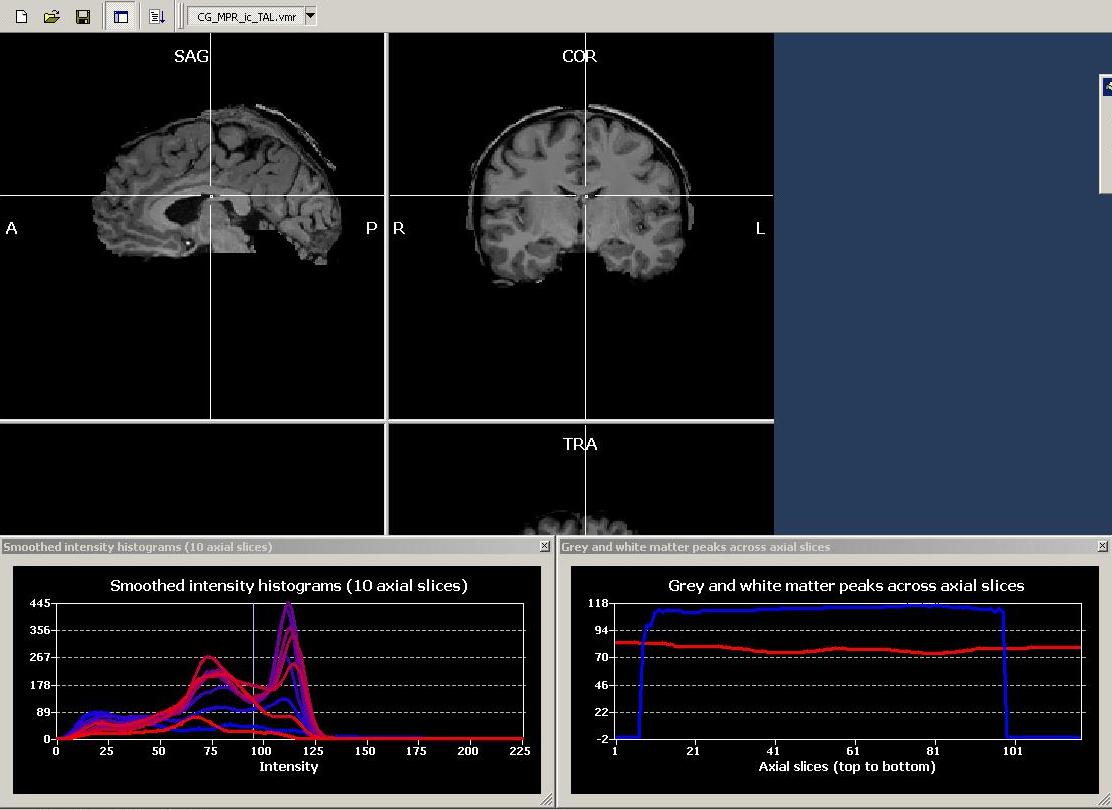
From inspecting the smoothed intensity histograms, it becomes clear that the distribution of intensities in the data are much easier to separate by using a single intensity threshold after using the inhomogeneity correction. The global intensity values may still not be optimal (so the whole distribution may be shifted a little bit to the right), but let’s first inspect the resulting surface reconstructions. Keep in mind that BV will automatically create different surface reconstructions, e.g. a mesh reconstructing the outer border of the white matter and a mesh reconstructing the smoothing white-grey matter boundary (Recosm). Here, we load the Recosm surface for the right left hemisphere.
Resulting surfaces:
After inhomogeneity correction
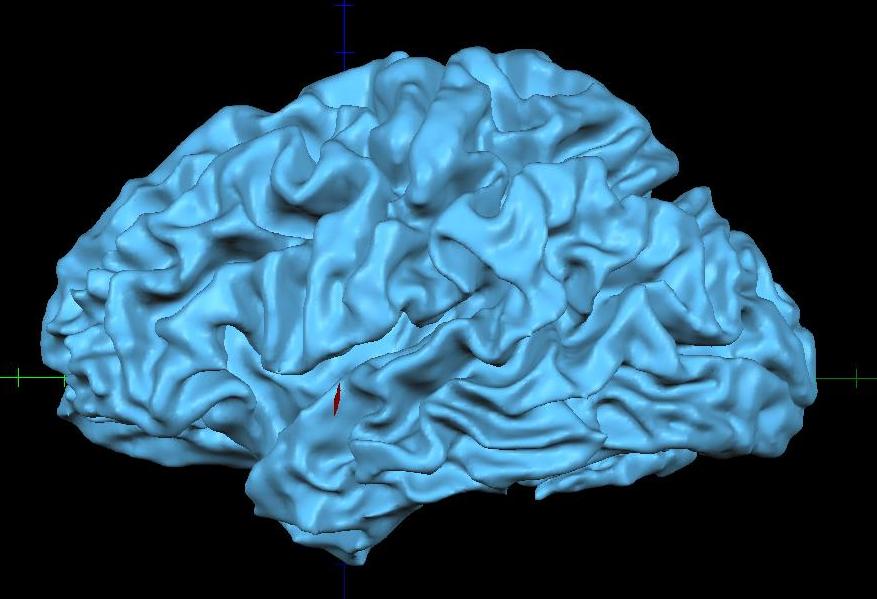
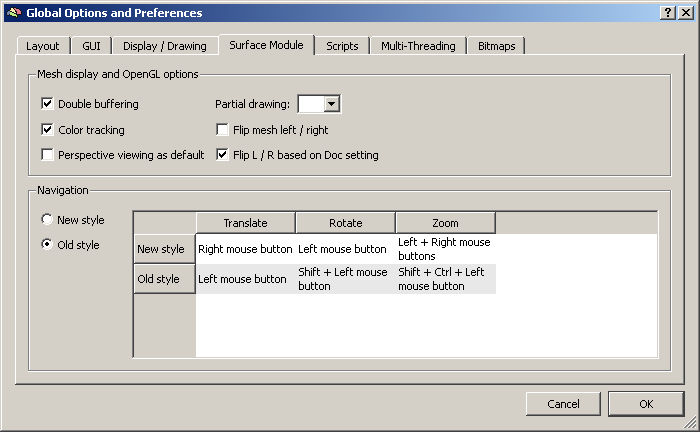
The surface reconstruction can be inspected in different ways: First of all, one can rotate and zoom every surface and check for local or global problems. The handling of surface meshes has been slightly changed in BV QX 1.9.9. To switch back to the old mode of rotation etc., you can change the settings of the Surface tab in the Preference menu.
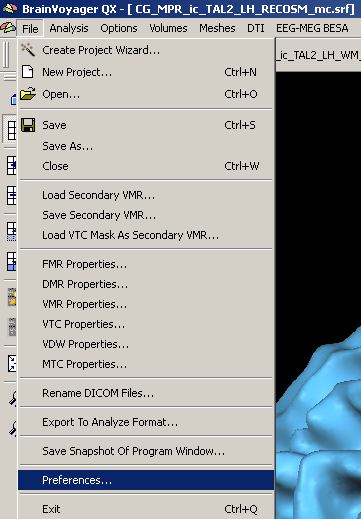
I personally prefer the so called “Old” style due to the massive “switching costs” (because of some years of experience) in my case. When you start using the surface module/ BrainVoyager, you are free to choose between the old and new style.
On the other hand, it is very important to check the anatomical acuity of the segmentation, i.e. how well does the surface represent the boundary between grey and white matter?
To do this, we can use a specific option in the Meshes menu, namely the “Spatial Transformations” dialog.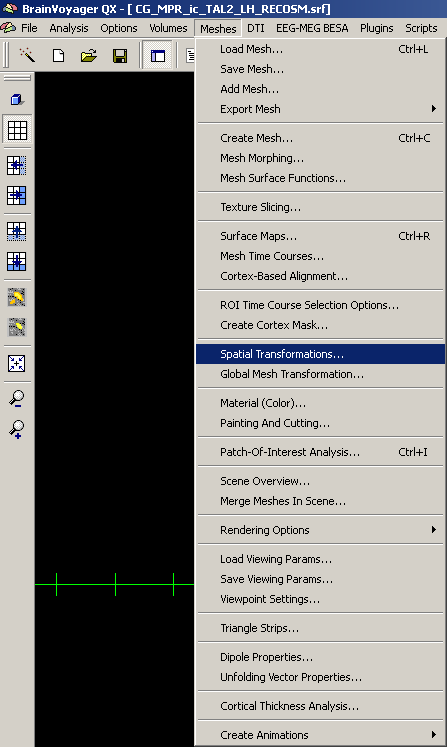
Clicking the Mesh->VMR button button, the boundary of the current surface reconstruction will be back-projected into the linked VMR project. Now, we can browse the project and inspect areas where e.g. parts of the white matter are left out or parts of the grey matter are erroneously included.
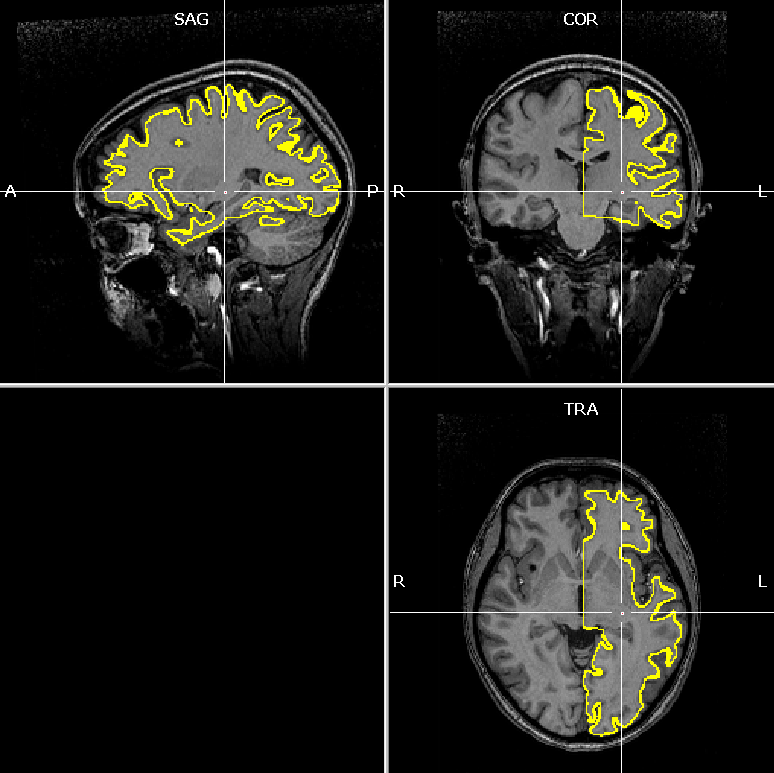
We can e.g. see clearly that erroneously, parts of the cerebellum have been included in the segmentation.
